

Nail polish hacks – bet you’re thinking, “What could I possibly *not* know about nail polish?” Well, get ready to have your mind blown! We’re diving deep into the surprisingly versatile world of nail polish, uncovering DIY tricks that go way beyond just a pretty manicure. Forget chipped nails and predictable colors; we’re talking about extending the life of your tools, fixing household mishaps, and even creating stunning art projects.
From ancient civilizations using natural dyes to adorn their nails to the modern explosion of colors and finishes, nail polish has always been more than just a cosmetic. It’s a form of self-expression, a tiny canvas for creativity. But its uses extend far beyond beauty. Think of it as a liquid band-aid for your belongings, a colorful sealant, and a surprisingly effective adhesive.
Why do you need these nail polish hacks in your life? Because life is messy! And sometimes, the simplest solutions are hiding in plain sight. Instead of running to the store for a specialized product, you can often reach for that bottle of nail polish and solve the problem with a touch of color and ingenuity. I’m excited to share these clever tips and tricks that will save you time, money, and maybe even a little bit of sanity. Let’s get started!
Nail Polish Hacks You Never Knew You Needed!
Hey there, fellow DIY enthusiasts! I’m so excited to share some seriously game-changing nail polish hacks that will make your life easier and your nails look fabulous. Forget just painting your nails – we’re about to unlock the *true* potential of that little bottle of color! Get ready to be amazed!
Hack 1: The Perfect Dotting Tool (Without Buying One!)
Okay, so you want those cute polka dots on your nails, but you don’t have a fancy dotting tool? No problem! This hack is super simple and uses things you probably already have lying around.
What you’ll need:
* Nail polish (base color and dot color)
* A toothpick (or a pin, or even the end of a bobby pin!)
* A piece of scrap paper or foil
Step-by-step instructions:
1. Prep your nails: Start with a clean base. Remove any old polish and shape your nails. Apply a base coat and let it dry completely. This is crucial for preventing staining and helping your manicure last longer.
2. Apply your base color: Paint your nails with your chosen base color. Apply two thin coats, allowing each coat to dry thoroughly before applying the next. Patience is key here! If you rush it, you’ll end up with smudges and bubbles.
3. Prepare your “dotting tool”: Place a small drop of your dot color nail polish onto your scrap paper or foil. This will be your palette.
4. Dotting time! Dip the tip of your toothpick (or pin/bobby pin) into the drop of nail polish. Make sure you don’t overload it – a small amount is all you need.
5. Create your dots: Gently touch the tip of the toothpick to your nail to create a dot. For even dots, try to apply the same amount of pressure each time.
6. Vary your dot sizes (optional): If you want to create dots of different sizes, simply use a different sized tool (like a pin for smaller dots and a bobby pin for larger ones) or adjust the amount of polish you pick up on your toothpick.
7. Let it dry: Allow the dots to dry completely before applying a top coat. This will prevent smudging and seal in your design.
8. Apply top coat: Finish with a top coat to protect your manicure and add shine.
Hack 2: Revive Thick or Clumpy Nail Polish
Ugh, there’s nothing more frustrating than reaching for your favorite nail polish only to find it’s turned into a thick, goopy mess. But don’t throw it away just yet! This hack can save the day (and your polish!).
What you’ll need:
* Nail polish thinner (specifically designed for nail polish – *not* nail polish remover!)
* An eyedropper or small pipette
* The offending bottle of nail polish
Step-by-step instructions:
1. Assess the damage: Take a good look at your nail polish. How thick is it? This will help you determine how much thinner you need to add.
2. Add thinner gradually: Using the eyedropper or pipette, add a few drops of nail polish thinner to the bottle. Start with just 2-3 drops.
3. Roll, don’t shake! Gently roll the bottle of nail polish between your hands to mix the thinner in. Shaking can create air bubbles, which you definitely don’t want.
4. Test the consistency: Open the bottle and check the consistency of the polish. It should be smooth and easy to apply. If it’s still too thick, add another drop or two of thinner and repeat the rolling process.
5. Repeat as needed: Continue adding thinner, a drop at a time, until you reach the desired consistency. Be careful not to add too much, or the polish will become too thin and watery.
6. Apply and enjoy! Once you’ve achieved the perfect consistency, apply your revived nail polish as usual.
Important Note: Always use nail polish *thinner*, not nail polish remover. Nail polish remover will break down the polish and ruin it. Thinner is specifically formulated to restore the consistency without damaging the formula.
Hack 3: The Perfect Marble Effect with Water
Water marbling can seem intimidating, but with a little practice, it’s totally achievable! This hack will give you those gorgeous, swirly marble nails you’ve always dreamed of.
What you’ll need:
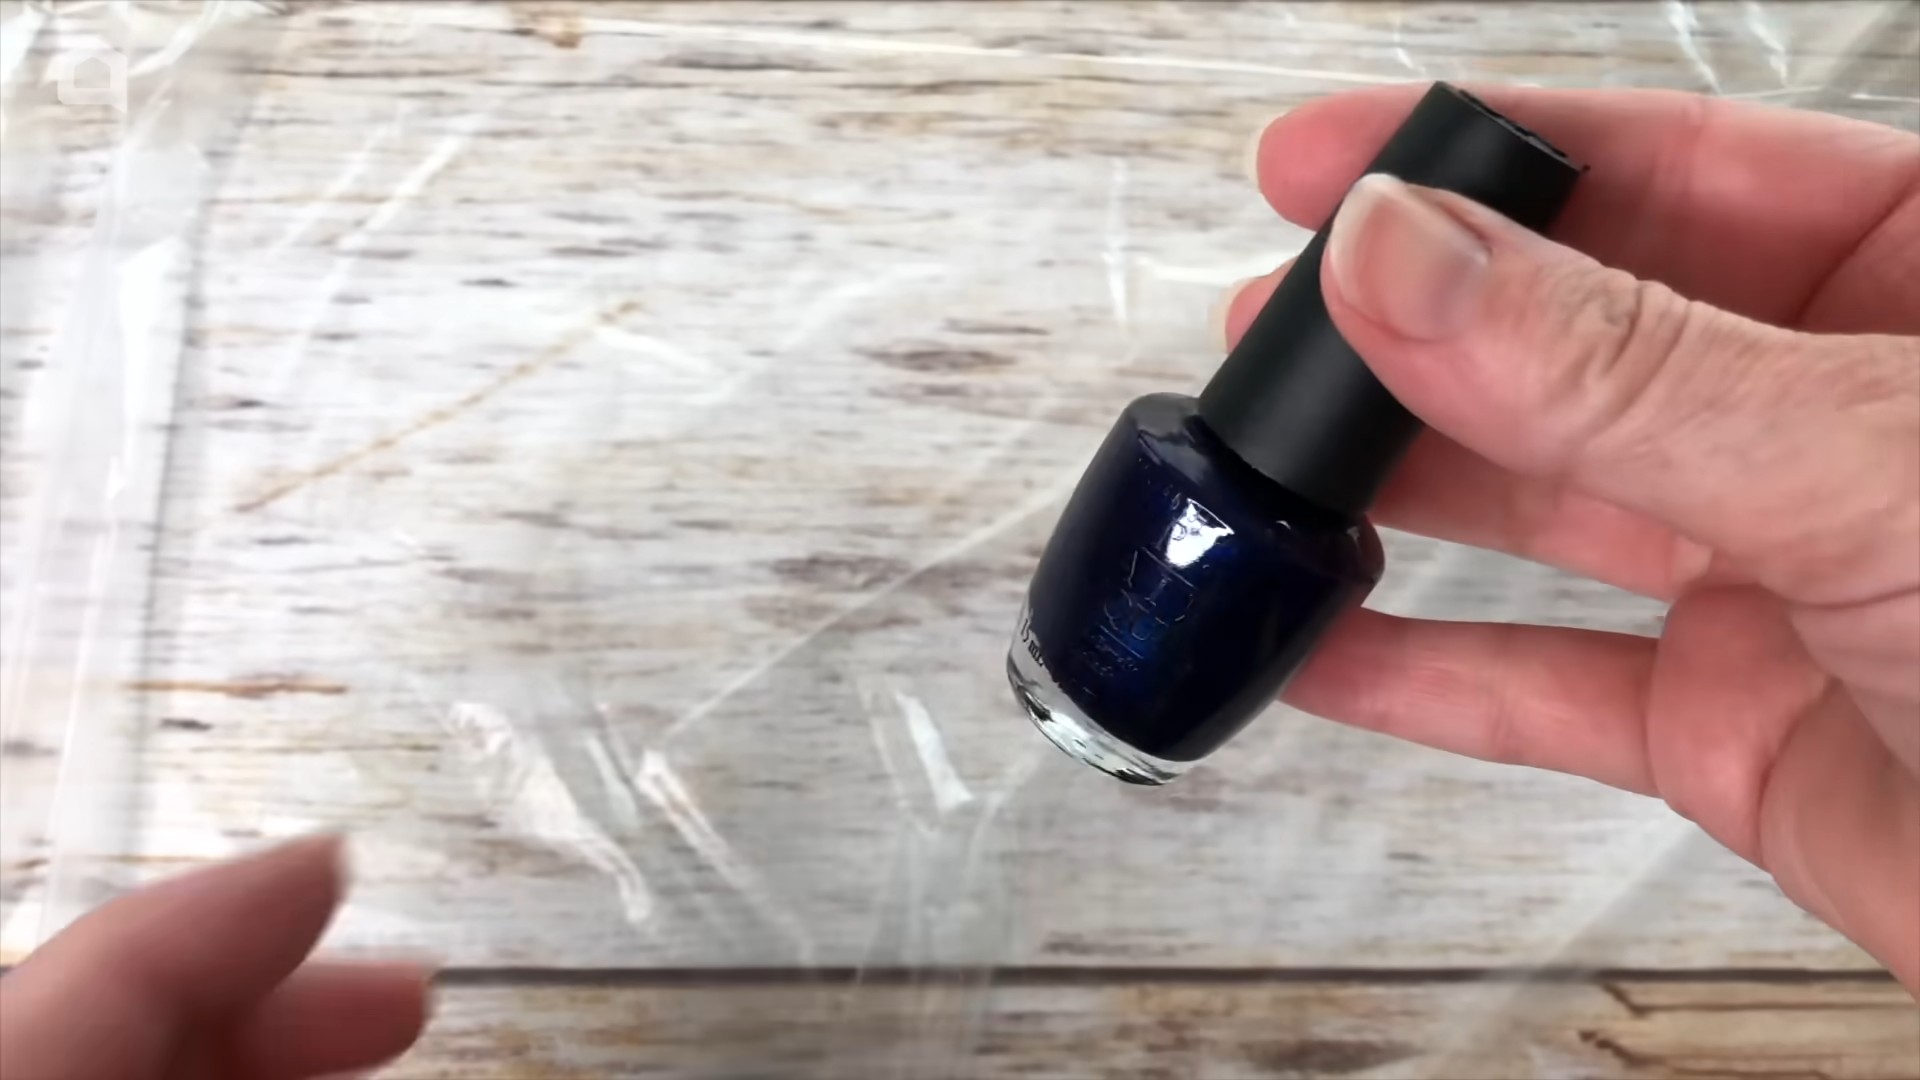
* Nail polishes (2 or more colors)
* A small cup or bowl filled with room temperature water
* Toothpick or orange wood stick
* Masking tape or liquid latex barrier
* Base coat
* Top coat
* Nail polish remover and cotton swabs (for cleanup)
Step-by-step instructions:
1. Prep your nails: Apply a base coat and let it dry completely. This will protect your nails and provide a smooth surface for the marble design.
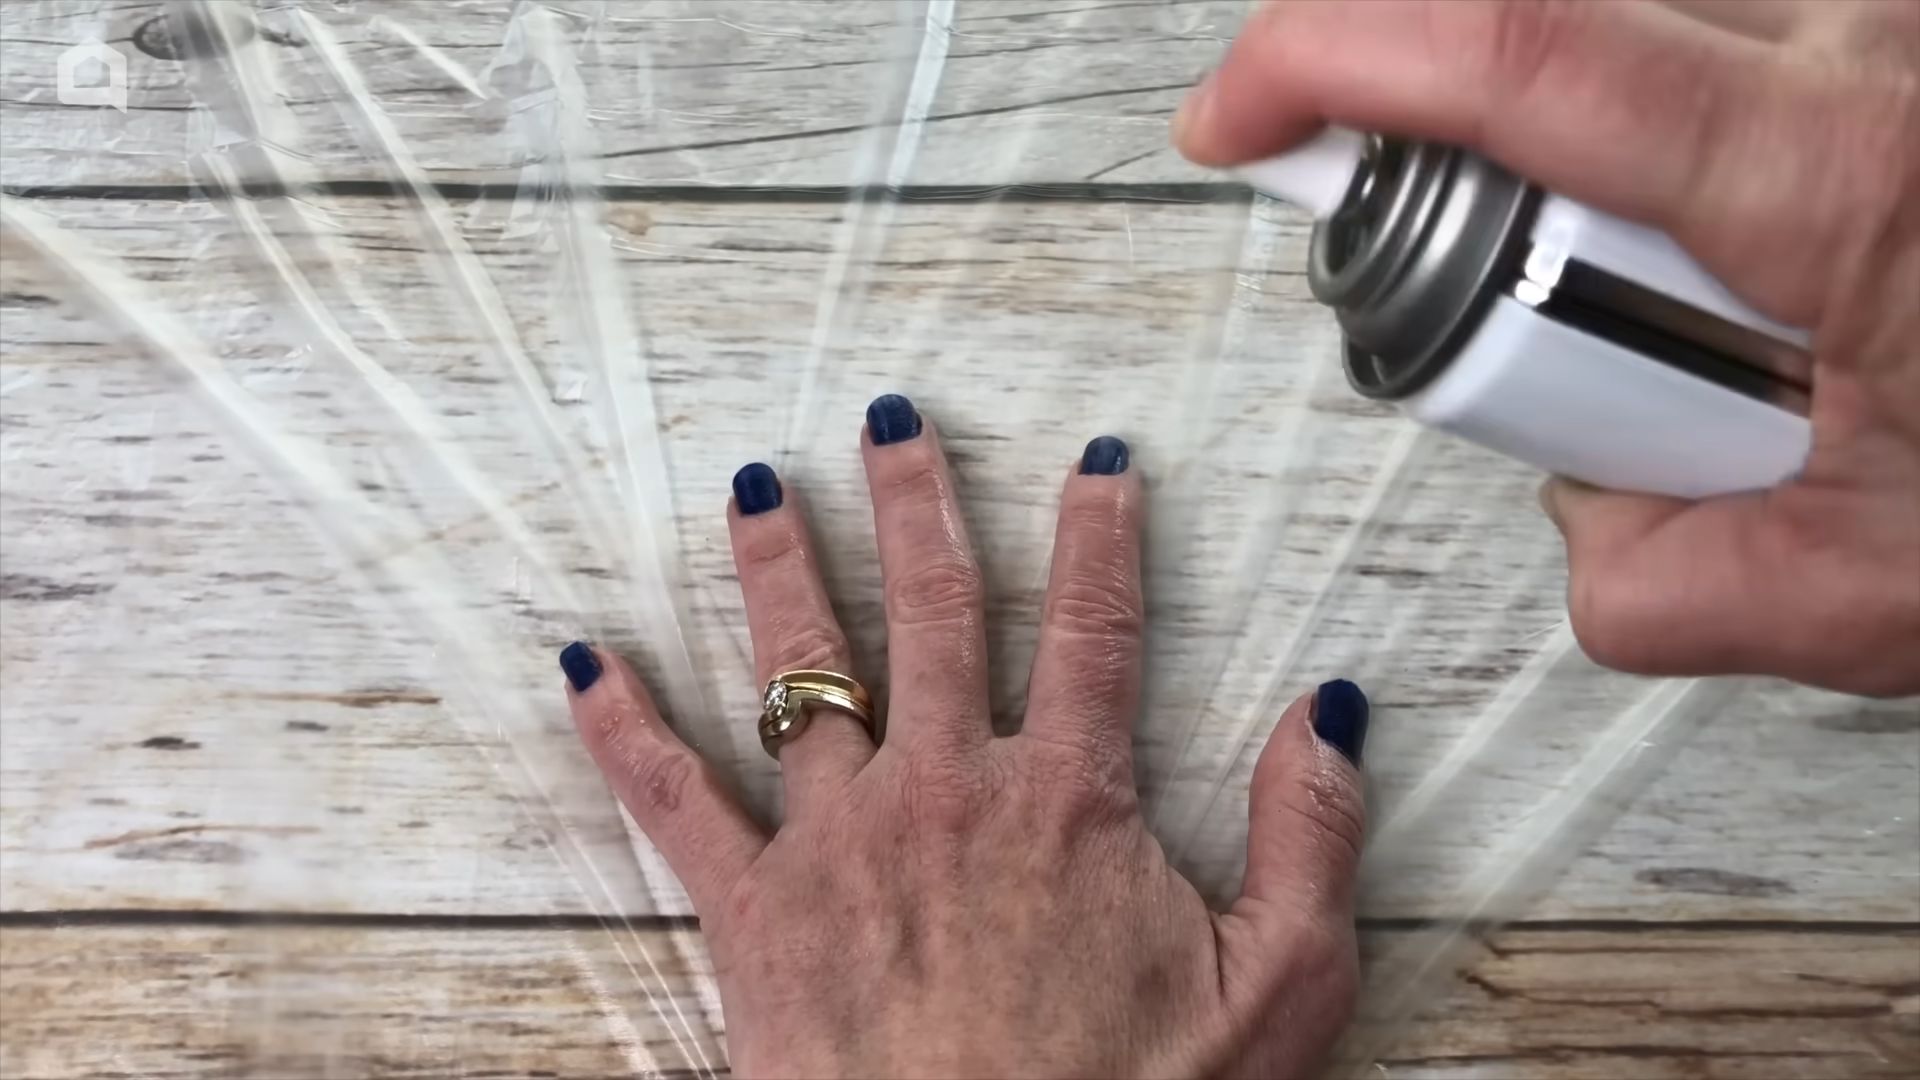
2. Protect your skin: This is crucial! Apply masking tape or liquid latex around your nails to protect your skin from getting covered in nail polish. This will save you a ton of cleanup time later.
3. Prepare your water bath: Fill a small cup or bowl with room temperature water. The water temperature is important – too cold and the polish won’t spread properly, too warm and it will dry too quickly.
4. Drip the polish: Choose your first nail polish color and carefully drip a drop of polish into the center of the water. The polish should spread out into a thin circle.
5. Alternate colors: Quickly drip another color into the center of the first circle. Continue alternating colors, allowing each drop to spread out before adding the next. You should end up with a bullseye pattern of concentric circles.
6. Create your design: Using a toothpick or orange wood stick, gently drag the polish in the water to create your desired marble design. You can create swirls, lines, or any other pattern you like. Be creative!
7. Dip your nail: Choose the area of the design you want to transfer to your nail. Slowly and carefully dip your nail into the water, positioning it over the design.
8. Clean up the excess: While your nail is still submerged in the water, use the toothpick or orange wood stick to clean up any excess polish around your nail. This will help to create a clean transfer.
9. Remove your finger: Slowly and carefully remove your finger from the water.
10. Clean up your skin: Immediately remove the masking tape or liquid latex from around your nail. Use a cotton swab dipped in nail polish remover to clean up any remaining polish on your skin.
11. Let it dry: Allow the design to dry completely before applying a top coat.
12. Apply top coat: Finish with a top coat to protect your manicure and add shine.
Tips for Water Marbling Success:
* Use room temperature water: As mentioned before, the water temperature is crucial.
* Work quickly: The polish will start to dry quickly, so you need to work fast.
* Use fresh polish: Older, thicker polishes may not spread properly in the water.
* Practice makes perfect: Don’t get discouraged if your first attempt isn’t perfect. Keep practicing, and you’ll get the hang of it!
Hack 4: Matte Nails Without Matte Polish
Want that trendy matte finish but don’t want to buy a whole new bottle of polish? This hack is for you! It’s quick, easy, and uses something you probably already have in your makeup bag.
What you’ll need:
* Your favorite nail polish (any color!)
* Cornstarch or translucent powder
* A small bowl or container
* A makeup brush (a fluffy eyeshadow brush works well)
* Base coat
* Top coat (optional – for added protection)
Step-by-step instructions:
1. Prep your nails: Apply a base coat and let it dry completely.
2. Apply your nail polish: Apply two thin coats of your chosen nail polish color, allowing each coat to dry thoroughly.
3. Prepare your matte-ifying mixture: Pour a small amount of cornstarch or translucent powder into a small bowl or container.
4. Apply the powder: While your nail polish is still slightly tacky (but not wet!), dip your makeup brush into the powder and gently tap off any excess.
5. Dust your nails: Lightly dust the powder over your nails, making sure to cover the entire surface.
6. Let it dry: Allow the powder to sit on your nails for a few minutes until the polish is completely dry and matte.
7. Brush off the excess: Use a clean makeup
Conclusion
So, there you have it! These nail polish hacks are more than just clever tricks; they’re game-changers that can save you time, money, and a whole lot of frustration. From rescuing clumpy polish to creating stunning nail art with everyday items, these techniques empower you to take control of your manicure destiny.
Why is this a must-try? Because let’s face it, we’ve all been there. Staring at a bottle of our favorite nail polish, only to find it’s become a thick, unusable mess. Or wanting to experiment with a new nail art design but feeling intimidated by complicated tools and techniques. These hacks eliminate those barriers, making beautiful, professional-looking nails accessible to everyone.
But the real beauty of these DIY nail polish hacks lies in their versatility. Feel free to experiment and adapt them to your own needs and preferences.
* For the clumpy polish rescue: Instead of just nail polish thinner, try a drop or two of acetone if you’re in a real pinch. Just be careful not to overdo it, as acetone can also break down the polish formula. You can also try warming the bottle in a bowl of warm water before adding thinner.
* For the nail art enthusiasts: Don’t limit yourself to just sponges for ombre effects. Try using makeup brushes, cotton swabs, or even pieces of plastic wrap to create different textures and patterns. And for dotting tools, toothpicks, bobby pins, or even the end of a pen work wonders.
* For the quick-dry aficionados: While cold water works wonders, consider investing in a quick-dry top coat. These top coats not only speed up the drying process but also add a protective layer that prevents chipping and extends the life of your manicure.
These are just a few ideas to get you started. The possibilities are truly endless. The key is to be creative, have fun, and don’t be afraid to experiment.
Ultimately, mastering these nail polish hacks is about more than just saving money or achieving a perfect manicure. It’s about empowering yourself to be creative, resourceful, and confident in your own abilities. It’s about turning a potentially frustrating experience into a fun and rewarding one.
So, what are you waiting for? Grab your nail polish collection, gather your supplies, and get ready to transform your nails. We’re confident that you’ll be amazed at what you can achieve with these simple yet effective techniques.
And most importantly, we want to hear about your experiences! Share your photos, tips, and tricks in the comments below. Let us know which hacks worked best for you, what variations you tried, and any other creative ideas you came up with. Together, we can create a community of nail polish enthusiasts who are always learning, sharing, and inspiring each other.
Happy painting!
Frequently Asked Questions
Q: My nail polish is so thick, even nail polish thinner doesn’t seem to be working. What should I do?
A: Don’t give up just yet! Sometimes, severely thickened nail polish requires a bit more patience and persistence. First, make sure you’re using a dedicated nail polish thinner, not just acetone or nail polish remover, as those can actually damage the formula. Add a few drops of thinner at a time, rolling the bottle gently between your palms to mix. Avoid shaking, as this can create air bubbles. If the polish is still stubbornly thick, try placing the bottle in a bowl of warm (not hot) water for a few minutes to help loosen it up. You can also try adding a few drops of thinner, waiting a few hours, and then adding a few more. In extreme cases, you might need to repeat this process several times. If all else fails, it might be time to say goodbye to that particular bottle.
Q: I tried the cold water quick-dry method, but my nail polish still smudged. What went wrong?
A: There are a few reasons why the cold water trick might not have worked perfectly. First, make sure your nail polish layers are thin and even. Thick layers take longer to dry and are more prone to smudging. Second, wait at least two minutes after applying your top coat before submerging your nails in the cold water. This allows the top coat to set slightly and prevents it from running. Third, use ice-cold water. The colder the water, the faster the drying process. Finally, avoid moving your hands around too much while they’re submerged. Keep them still for at least three minutes to allow the polish to fully harden. If you’re still experiencing smudging, consider investing in a quick-dry top coat, which is specifically formulated to speed up the drying process.
Q: Can I use these nail polish hacks on gel polish?
A: While some of these hacks might work on gel polish, it’s important to exercise caution. The clumpy polish rescue hack, for example, is generally not recommended for gel polish, as the formulas are different and using regular nail polish thinner can damage the gel. The nail art hacks, such as using sponges or dotting tools, can be used with gel polish, but you’ll need to cure each layer under a UV or LED lamp. The cold water quick-dry method will not work on gel polish, as it requires curing under a lamp to harden. Always check the manufacturer’s instructions for your specific gel polish brand before attempting any DIY hacks.
Q: I don’t have any sponges for the ombre nail art hack. What else can I use?
A: No sponges? No problem! There are plenty of alternatives you can use to create stunning ombre effects. Makeup sponges, especially those designed for applying foundation, work exceptionally well. You can also try using cotton balls or cotton swabs, although these might create a slightly different texture. Another option is to use a small piece of plastic wrap. Crumple it up and dab it onto your nails to create a unique, textured ombre effect. Experiment with different materials to see what works best for you and gives you the desired look.
Q: How can I prevent my nail polish from getting clumpy in the first place?
A: Prevention is key when it comes to keeping your nail polish in good condition. First, store your nail polish bottles in a cool, dark place, away from direct sunlight and heat. These elements can cause the polish to thicken and become clumpy. Second, make sure to tightly close the bottle after each use to prevent air from getting in and drying out the polish. Third, avoid shaking the bottle vigorously, as this can create air bubbles. Instead, gently roll the bottle between your palms to mix the polish. Finally, consider investing in a nail polish organizer to keep your bottles upright and prevent them from tipping over, which can also contribute to thickening.
Q: Are there any safety precautions I should take when using nail polish thinner or acetone?
A: Yes, absolutely! Nail polish thinner and acetone are both flammable and can be harmful if inhaled or ingested. Always use them in a well-ventilated area and avoid breathing in the fumes. Keep them away from heat, sparks, and open flames. Wear gloves to protect your skin from irritation. If you accidentally get nail polish thinner or acetone in your eyes, rinse them immediately with plenty of water and seek medical attention. Keep these products out of reach of children and pets. Always follow the manufacturer’s instructions and safety guidelines.

Leave a Comment